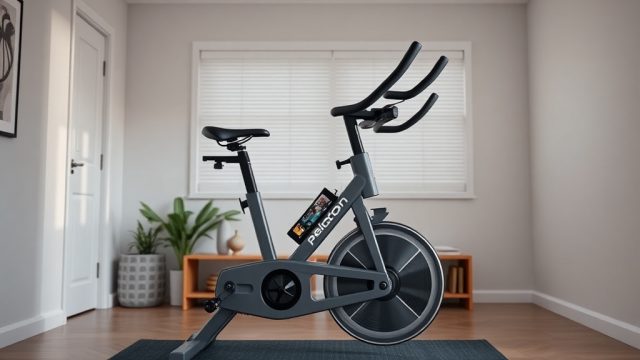
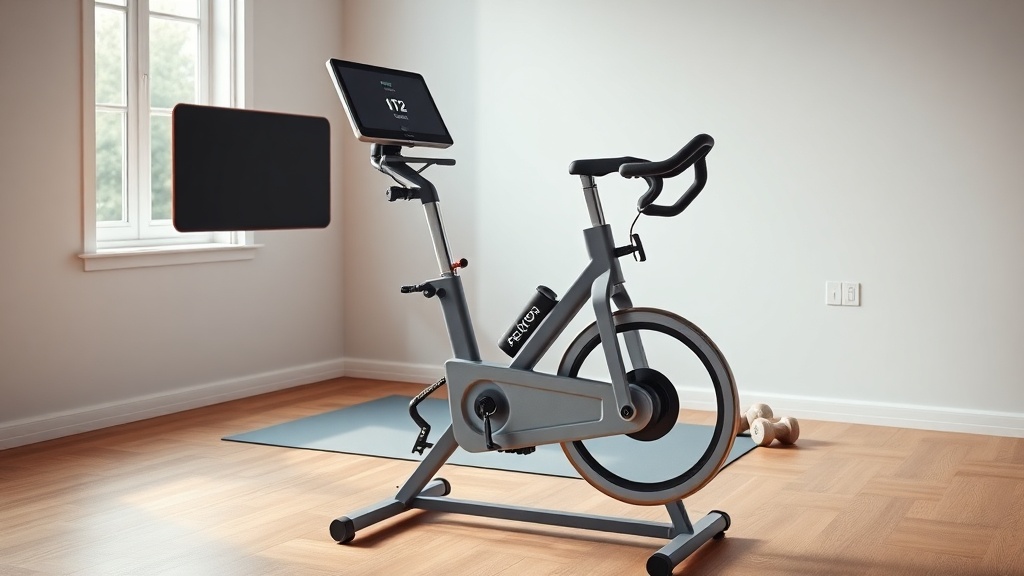
The Peloton Bike: Seat Adjustment Guide for Perfect Fit and Comfort
A poorly adjusted saddle is the fastest way to turn a great ride into a painful ordeal. Even the most advanced stationary bike, like the Peloton Bike, won’t deliver its best performance if the seat isn’t dialed in for your body. This guide provides a clear, step-by-step approach to adjusting your Peloton Bike seat for optimal comfort, efficiency, and injury prevention.
Why Does Seat Adjustment Matter for Performance on the Peloton Bike?
Proper seat adjustment directly impacts your power output, pedal stroke efficiency, and overall ride quality. When your saddle is too low, your knees can experience excessive strain, particularly on the patella. Conversely, a seat that’s too high can cause you to rock your hips, leading to lower back discomfort and inefficient power transfer. For peak performance on the Peloton Bike, you need a neutral spine, a slight bend in the knee at the bottom of the pedal stroke, and a level pelvis. This setup allows you to engage your glutes and hamstrings more effectively, reducing fatigue and increasing wattage output over longer rides. Many riders overlook this, but a precise seat adjustment can improve your FTP (Functional Threshold Power) by 5-10% without any added fitness effort.
How Do I Adjust the Seat Height on the Peloton Bike?
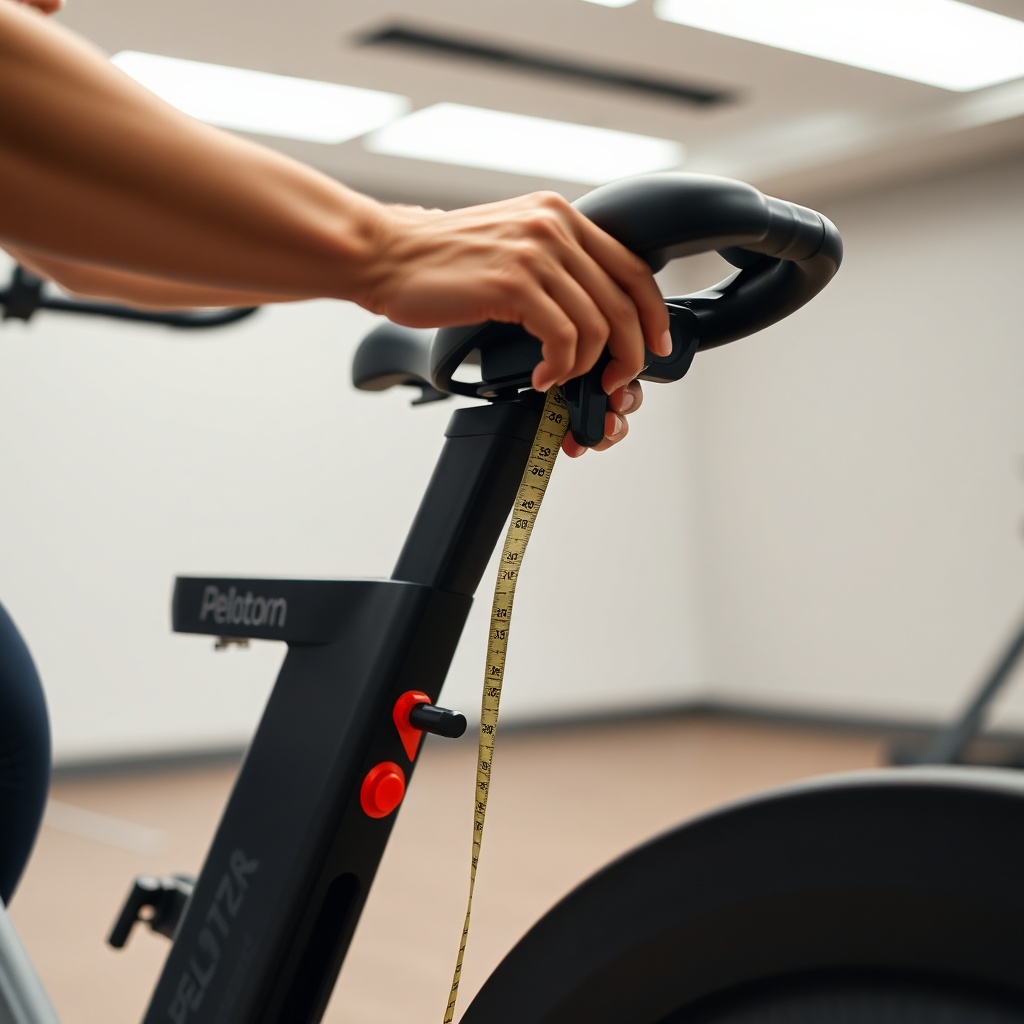
Seat height is the most critical adjustment. Follow these steps precisely:
- Step 1: Find the seat adjustment lever located directly under the saddle post. Pull it outward to release the clamping mechanism.
- Step 2: Stand next to the Peloton Bike. Adjust the seat post so the saddle height aligns with your hip bone (greater trochanter). When standing, your hip bone should be level with the top of the saddle.
- Step 3: Get on the bike and place one pedal at the bottom of the stroke (6 o’clock position). With your foot flat on the pedal, your knee should have a slight bend (about 25 to 35 degrees of flexion). If your leg is fully straight or if your hip dips, the seat is too high. If your knee is bent more than 45 degrees, it’s too low.
- Step 4: Push the lever back to lock the seat post. Apply moderate pressure to the saddle to ensure it doesn’t slip.
For most riders, the seat height range on the Peloton Bike falls between settings 10 and 30 on the indicator (though this is not exact). A general rule: your inseam measurement (in inches) multiplied by 0.883 gives a good starting point for crank arm center to saddle top distance. For example, a 32-inch inseam suggests a saddle height of roughly 28.25 inches from the center of the bottom bracket.
| Issue | Severity | Symptoms | Recommended Action |
|---|---|---|---|
| Seat Too Low | High | Knee pain at front of knee, excessive quadriceps fatigue, reduced power output | Raise saddle 0.5 – 1 inch at a time |
| Seat Too High | High | Lower back pain, hip rocking, tingling in feet, hamstring pulls | Lower saddle 0.5 – 1 inch at a time |
| Seat Too Far Forward | Moderate | Wrist pain, neck strain, feels like pedaling uphill | Slide saddle backward 0.5 – 1 cm |
| Seat Too Far Back | Moderate | Numbness in perineum, difficulty reaching handlebars, inefficient power transfer | Slide saddle forward 0.5 – 1 cm |
| Seat Nose Tilted Up | Moderate | Perineal pressure, pelvic discomfort | Level saddle nose to horizontal |
| Seat Nose Tilted Down | Low | Sliding forward on saddle, arm fatigue, poor pedal stroke | Level saddle nose to horizontal |
How Do I Adjust the Seat Fore/Aft Position on the Peloton Bike?
Fore/aft adjustment (horizontal slide) controls your knee-over-pedal-spindle position. A common mistake is setting the seat too far forward, which overloads the quads and causes knee pain.
- Step 1: Locate the fore/aft adjustment knob under the saddle rails (usually a hex bolt or a lever, depending on Peloton Bike model).
- Step 2: Pedal until the crank arm is horizontal (3 o’clock position) and the pedal is at the front of the stroke.
- Step 3: Drop a plumb line (or use a string with a small weight) from the front of your kneecap. It should pass directly over the center of the pedal axle. If the line falls in front of the pedal axle, slide the saddle forward. If behind, slide it backward.
- Step 4: Tighten the adjustment knob fully. Test by pedaling for 2 minutes—you should feel balanced and not tilted forward or back.
Most Peloton Bike models provide about 2 inches (5 cm) of fore/aft travel. Start with the seat in the middle position for baseline.
What About Seat Tilt and Leveling on the Peloton Bike?
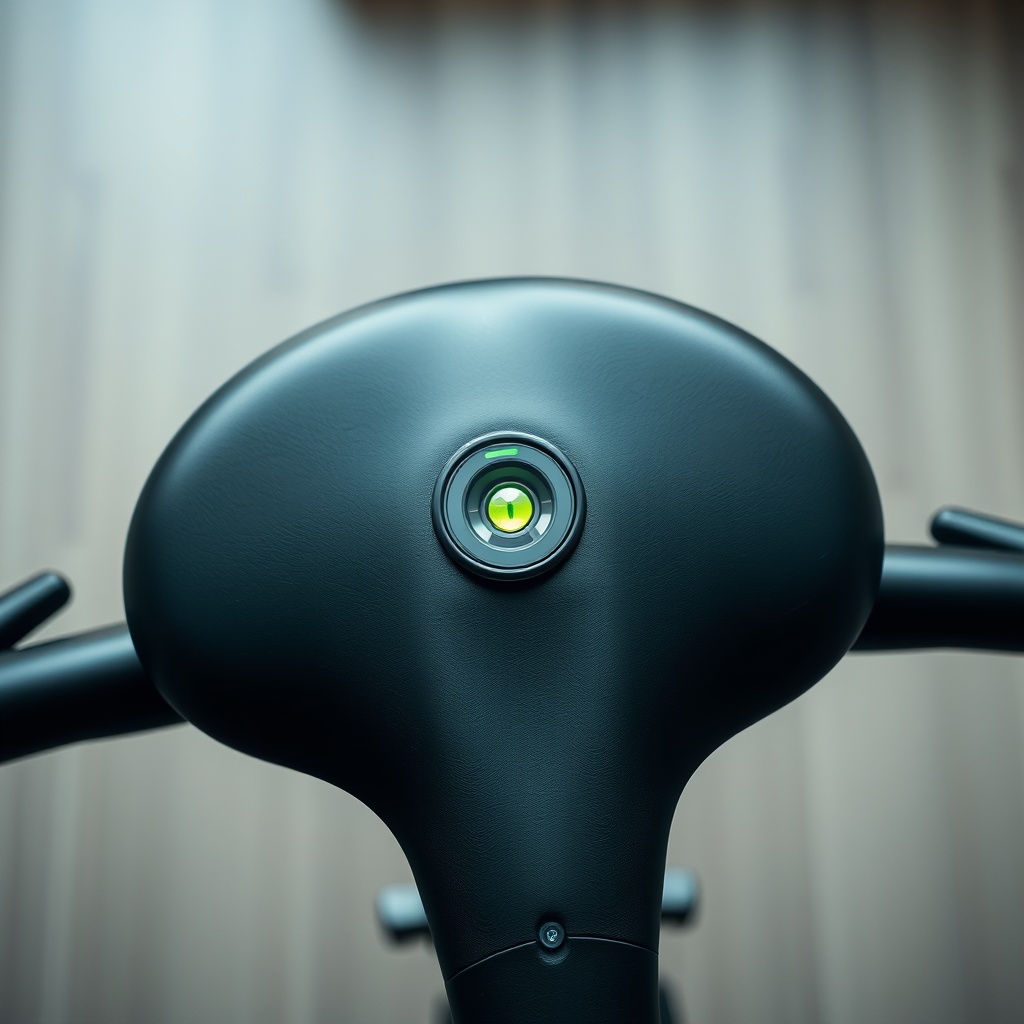
A properly leveled saddle supports your sit bones evenly and prevents sliding. Most Peloton Bikes come with a 4mm hex bolt adjustment underneath the nose of the saddle.
- Step 1: Place a small spirit level (or a smartphone level app) on the flat part of the saddle. The bubble should be centered.
- Step 2: If the nose points upward, use the hex key to loosen the bolt slightly, then tilt the nose downward until level. If the nose points downward, tighten the bolt to raise it.
- Step 3: Tighten the bolt to 5-7 Nm of torque (hand-tight with moderate force).
- Step 4: Sit on the bike and gently rock your hips. Adjust tiny increments (1-2 degrees) until you feel no pressure on your soft tissues.
For riders with sciatica or perineal numbness, a very slight nose-down tilt (1-2 degrees) can relieve pressure, but excessive tilt will cause sliding. For broad sit bones, a level saddle provides the widest contact patch.
How Do I Adjust the Handlebar Height and Reach on the Peloton Bike?
While not the seat, handlebar position is crucial for comfortable posture and complements the saddle setup. On the Peloton Bike, the handlebar post adjusts vertically and horizontally.
- Height Adjustment: Turn the knob on the fork of the handlebar post counterclockwise to release. Adjust so the handlebars are at the same height as the saddle or slightly higher for a more upright riding position (recommended for beginners and those with lower back sensitivity). For performance, set handlebars 1-2 inches lower than the saddle.
- Fore/Aft Adjustment: Loosen the lever under the handlebars. Move the handlebars forward or backward so that your forward reach is comfortable. When holding the hoods, your elbows should have a slight bend (about 15-20 degrees) and your shoulders should not be hunched.
- Leveling: The handlebar pads should be parallel to the ground. Use a level if needed.
Most Peloton Bikes have a range of 10 inches (25.4 cm) of vertical handlebar adjustment. The overall goal is a comfortable reach without overextending your back or arms.
What Owners Say About Peloton Bike Seat Adjustment
Many owners report that the factory-recommended seat settings rarely work for everyone. A common sentiment on cycling forums and Peloton community groups is that the saddle adjustment takes 2 to 3 rides to get right. Users emphasize the importance of making small adjustments (quarter-inch increments) and testing one variable at a time. Some owners install a custom saddle to better match their anatomy, especially for riders with wider sit bones. “The stock saddle is fine for 30-minute rides, but for 60-minute Power Zone classes, I had to adjust the fore/aft three times before my knees stopped aching,” one long-time owner reported. Several users also note that the seat post can be difficult to adjust if the lever is stiff, but that a drop of lubricant on the adjustment mechanism solves the issue. Overall, most owners find the Peloton Bike’s adjustment range sufficiently adaptable for riders between 4’11” and 6’4″, though taller riders often need to raise the seat to the max limit.
Frequently Asked Questions
1. How often should I adjust my Peloton Bike seat?
Adjust the seat whenever you experience discomfort or after a significant break from riding. If you share the bike, adjust it before each ride. For solo riders, once you find your ideal setup, you should not need frequent changes unless your flexibility or power output changes.
2. Can I damage the Peloton Bike by adjusting the seat incorrectly?
No, incorrect adjustment will not damage the bike itself, but improper torque on the seat post clamp can cause the seat to slip or the post to deform. Always tighten the lever securely but do not overtighten.
3. What tools do I need for seat adjustment on the Peloton Bike?
Only your hands are needed for most adjustments (seat height lever and fore/aft knobs). For seat tilt leveling, you will need a 4mm hex key (Allen wrench) and optionally a spirit level. A torque wrench is recommended for tightening bolts to specifications (5-7 Nm).
4. Why does my knee hurt after adjusting the seat?
Knee pain is most commonly due to incorrect fore/aft position. Pain at the front of the knee often indicates a seat too low or too far forward. Pain behind the knee suggests the seat is too high or too far back. Re-check your knee-over-pedal-spindle alignment.
5. Is the Peloton Bike seat adjustable for very tall or very short people?
Yes, the Peloton Bike accommodates riders from 4’11” to approximately 6’5″ based on the seat post range. For riders under 5’0″, you may find the minimum seat height still too high; aftermarket shorter seat posts are available. For riders over 6’4″, the max height may be borderline; some tall riders use a longer seat post.
6. Does a gel seat cover help with Peloton Bike saddle discomfort?
A gel seat cover can provide short-term relief for perineal pressure, but it is not a substitute for proper seat adjustment. The cover often shifts during rides and can alter your fore/aft position. It is better to first invest time in adjusting the stock saddle before adding accessories.