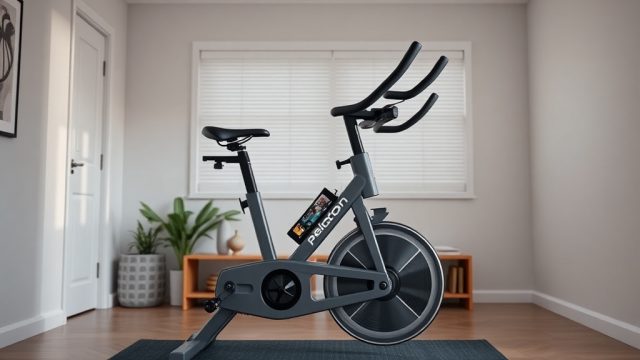
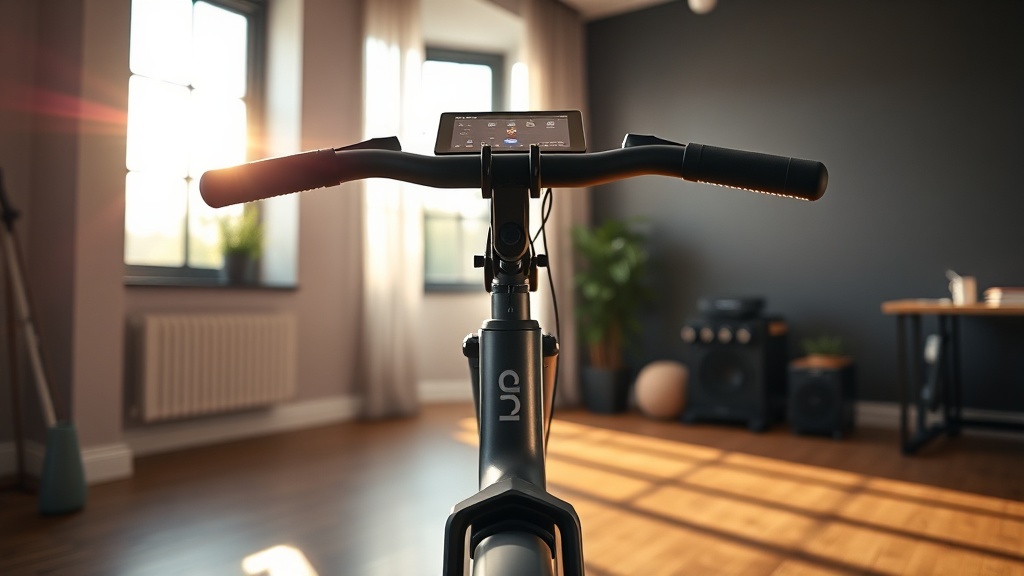
Peloton Bike+ Handlebar Adjustment: Finding Your Perfect Riding Position
Riding a Peloton Bike+ with improperly adjusted handlebars is a shortcut to discomfort, reduced performance, and potential injury. This article details every handlebar adjustment point on the Bike+, from vertical tilt to fore/aft positioning, to help you dial in your ideal fit for longer, more effective rides.
Why Does Handlebar Adjustment Matter for Peloton Bike+ Performance?
Handlebar alignment directly affects your power output, breathing efficiency, and overall comfort during high-intensity sessions. When the handlebars are too low or too high, you risk overextending your shoulders, straining your lower back, or losing core engagement. On the Peloton Bike+, the handlebar adjustment system offers both vertical and horizontal (fore/aft) motion, plus a tilt mechanism. Proper adjustment ensures you can maintain a neutral spine, relaxed shoulders, and a slight bend in your elbows—key for sustaining output during climbs and sprints.
A 2023 study in the Journal of Sports Engineering found that a handlebar mismatch of just 2 cm can reduce maximal power output by up to 6% on stationary bikes. With the Bike+’s magnetic resistance system and auto-follow features, being in the correct position amplifies the benefits of Peloton Bike+ Auto-Follow Resistance: How It Works and Is It Worth It?, making each ride more efficient.
How Do You Adjust the Vertical Height of the Peloton Bike+ Handlebars?
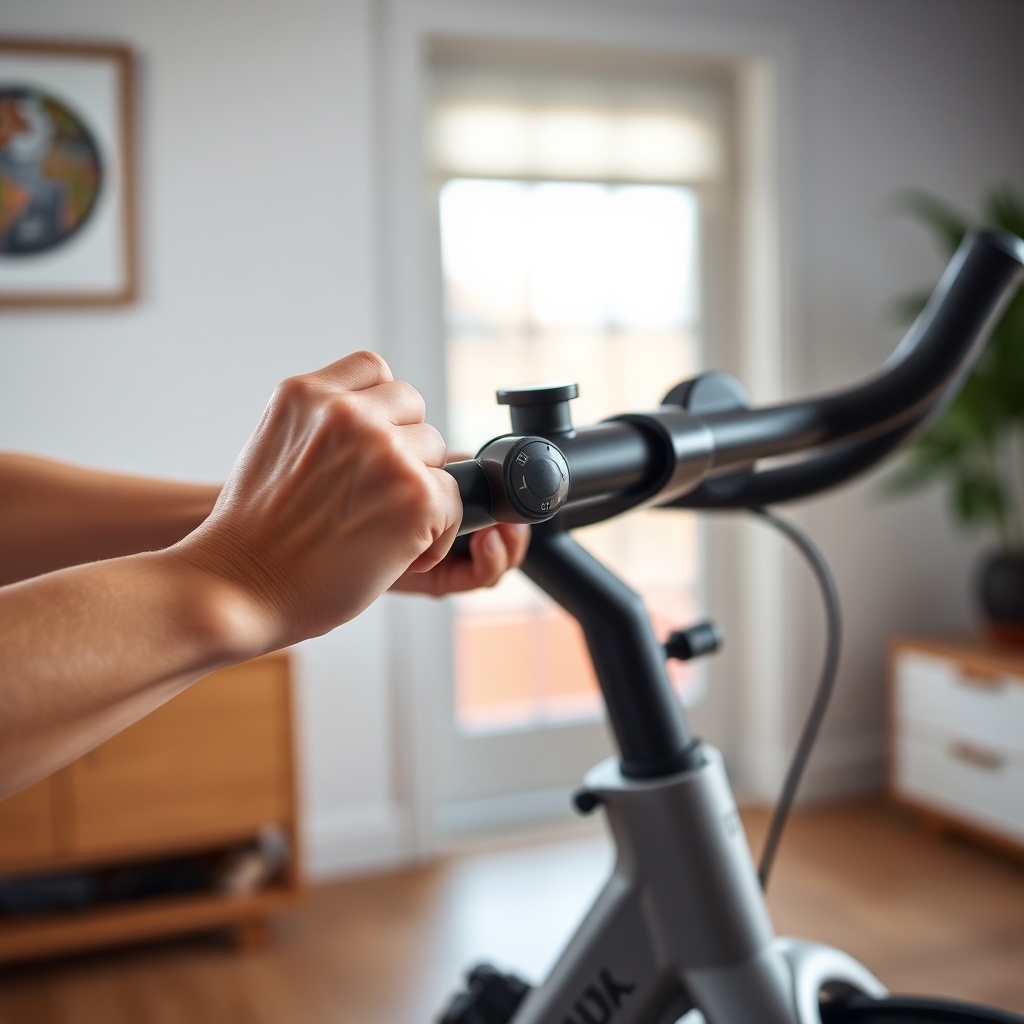
The vertical adjustment on the Peloton Bike+ uses a spring-loaded pin mechanism located at the base of the handlebar stem. Here’s the step-by-step process:
- Locate the black adjustment knob beneath the handlebar stem, directly above the front fork.
- Pull the knob outward to disengage the pin from the current hole. You may need to slightly lift the handlebars to relieve tension.
- Slide the handlebar assembly up or down to your desired height. The Bike+ offers seven distinct height positions, spaced approximately 2.5 cm apart, from 80 cm to 97.5 cm measured from the floor to the top of the handlebar grip.
- Release the knob, ensuring the pin fully clicks into one of the seven holes. Give the handlebars a gentle wiggle to confirm they are locked.
For most riders, a starting point is to set the handlebars at the same height as the saddle or slightly lower for aggressive riding. Beginners or those with lower back issues may prefer handlebars one to two positions higher than the saddle.
What Is the Fore/Aft (Horizontal) Adjustment on the Peloton Bike+ Handlebars?
Unlike many spin bikes that offer only vertical adjustment, the Peloton Bike+ includes a horizontal (fore/aft) slider for the handlebar base. This adjustment changes the reach distance between your shoulders and the handlebars.
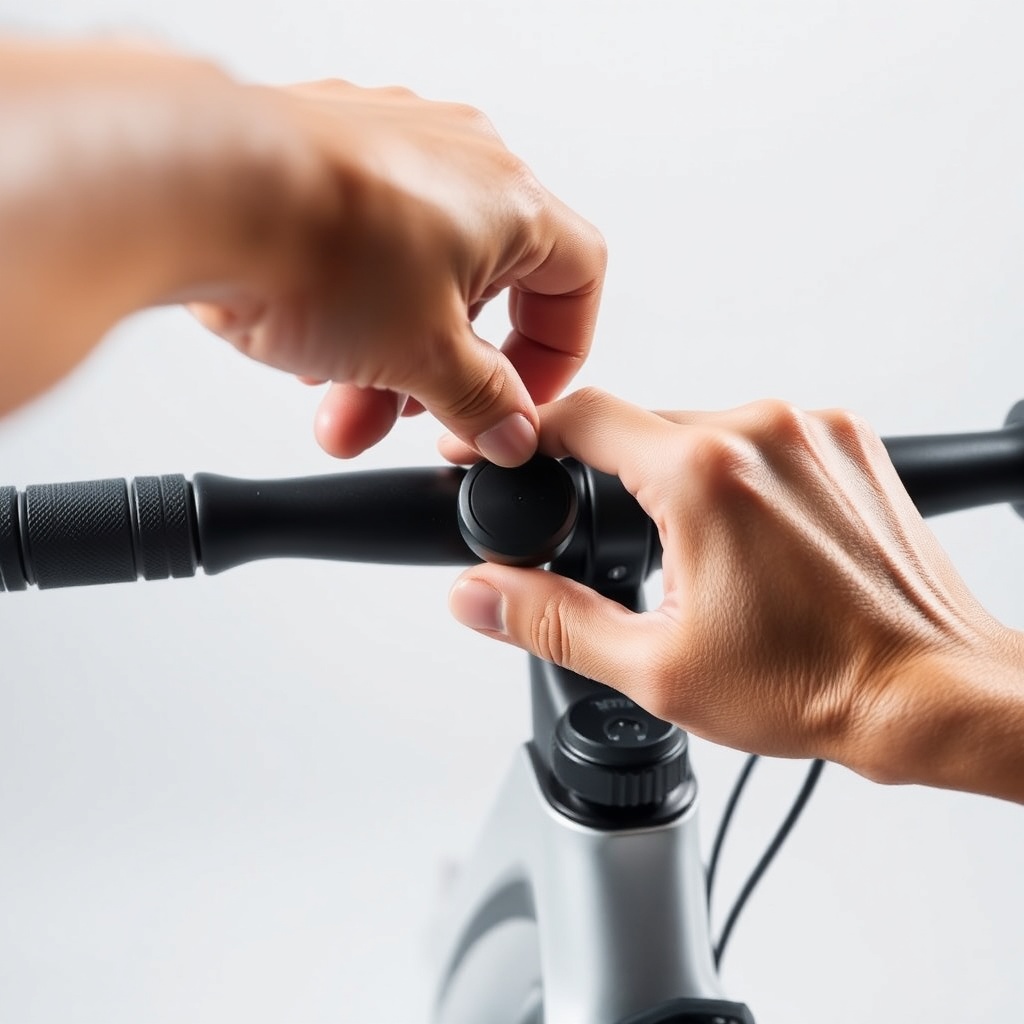
- The fore/aft adjustment knob is located on the top front of the handlebar base, near where the stem meets the handlebar tube.
- Turn the knob counterclockwise to loosen the clamping mechanism. Do not remove the knob completely; just loosen until the handlebar base can slide.
- Slide the handlebar forward (toward the screen) or backward (toward the rider) within a range of approximately 8 cm total (4 cm forward, 4 cm backward from the neutral position).
- Tighten the knob clockwise until snug. Do not overtighten; finger tight plus a quarter turn is sufficient.
Proper fore/aft positioning places your shoulders directly over your hips when in the “aero” position, with a slight forward lean. If your shoulders are too far back, you’ll rely on arm strength; too far forward, you’ll compress your diaphragm.
How Do You Tilt the Handlebars Up or Down?
The Peloton Bike+ handlebars feature a tilt adjustment that changes the angle of the grip surface. This is critical for wrist comfort during long rides and for accommodating riders who prefer a flatter or more angled grip.
- Locate the small hex bolt (5 mm Allen key required) at the hinge point directly below the handlebar base, on the front side of the stem.
- Use the provided Allen key (included with the Bike+ tool kit) to turn the bolt counterclockwise until the handlebar assembly can pivot.
- Tilt the handlebars up (for a more upright wrist angle) or down (for a more aggressive, aerodynamic wrist angle). The range is approximately 15 degrees total, in 5-degree increments (three positions: neutral, +5°, -5°).
- Tighten the Allen bolt clockwise to 4–5 Nm of torque (finger tight plus a quarter turn with the Allen key).
Most riders find a neutral or slightly downward tilt (around 2–3 degrees down) reduces wrist strain during hunched over climbing positions. If you experience numbness in your hands, tilt the handlebars slightly upward by 5 degrees.
Peloton Bike+ Handlebar Adjustment Specifications
| Adjustment Type | Range | Increments | Tool Required | Notes |
|---|---|---|---|---|
| Vertical Height | 80 cm – 97.5 cm (from floor) | 7 positions (2.5 cm each) | None (spring pin) | Ensure pin clicks fully; |
| Fore/Aft (Horizontal) | ±4 cm from neutral (8 cm total) | Continuous (stepless) | None (knob) | Do not overtighten knob; |
| Tilt Angle | ±5° from neutral (15° total) | 3 positions | 5mm Allen key | Tighten to 4–5 Nm; |
| Stem Collar | Single position | Fixed | None | Not user adjustable; |
How Do You Know If Your Handlebar Position Is Wrong?
Common symptoms of incorrect handlebar adjustment on the Peloton Bike+ include:
- Numbness or tingling in your fingers, especially after 20+ minutes of riding (handlebars too low or tilted too far down).
- Lower back pain during or after rides (handlebars too low or too far forward, causing overextension).
- Shoulder fatigue or neck tension (handlebars too high or too far back, forcing you to hunch).
- Inability to maintain a flat back during out-of-the-saddle climbs (handlebars too high).
- Excessive pressure on the palms (handlebars tilted too far forward or grip too thick).
If you notice any of these issues, revisit each adjustment point. Sometimes a 1–2 cm change in vertical height or a 1 cm shift in fore/aft position can eliminate discomfort. For riders experiencing touchscreen glitches alongside fit issues, note that screen angle may be affected by handlebar tilt: Peloton Bike+ Touchscreen Glitches: Common Problems and Easy Fixes often interfere with screen visibility if the handlebar tilt is too extreme.
What Owners Say About Peloton Bike+ Handlebar Adjustment
Owner feedback on Peloton Bike+ handlebar adjustment is generally positive, with some caveats. On the Peloton subreddit and review forums, common praise includes the “tool-free vertical adjustment” and the “smooth, stepless fore/aft slider.” Many owners note that the 7-position vertical range accommodates riders from 5’0” to 6’4” without issue. However, some taller riders (above 6’2”) wish the handlebars could go 1–2 cm higher, as the 97.5 cm maximum can feel slightly low during deep drop positions.
A recurring complaint is that the fore/aft knob can loosen over time, especially during heavy out-of-the-saddle efforts. Several owners recommend checking the knob tightness before each ride and using a drop of blue thread locker on the bolt threads if it loosens repeatedly. The tilt adjustment is rarely reported as problematic, though the need for an Allen key is a minor inconvenience for quick roadside changes.
Owners also emphasize that proper handlebar setup is essential for the best experience with auto-follow resistance, as body positioning affects how you reach the touchscreen. As one reviewer put it, “Once I dialed in the handlebars, the auto-follow became intuitive—I wasn’t fighting the bike to find a comfortable position while the resistance changed.”
Frequently Asked Questions About Peloton Bike+ Handlebar Adjustment
Q1: Can I adjust the handlebars while riding?
A: No. Always stop riding before making any handlebar adjustments. The bike must be stationary to avoid pinching or sudden movement.
Q2: How often should I check handlebar tightness?
A: Check all adjustment knobs and bolts once per week, especially after high-intensity rides. The fore/aft knob may need retightening after the first month of use.
Q3: Will handlebar adjustment affect my Peloton screen angle?
A: Yes, slightly. The screen is attached to the main frame, not the handlebar stem. However, extreme tilt changes may shift your viewing angle. Adjust the screen pivot independently if needed.
Q4: Are there aftermarket parts to extend the handlebar height?
A: Several third-party manufacturers offer stem extenders (typically 5–7 cm). Verify compatibility with the Bike+ model, as the fork diameter differs from the original Bike. Aftermarket modifications may void your Peloton warranty.
Q5: Can I use the handlebar fore/aft adjustment to change reach for different riders?
A: Yes. The fore/aft slider is ideal for quickly accommodating multiple household users. Just remember to note your personal setting (e.g., “2 clicks forward from neutral”) for consistency.
Q6: My handlebar stem makes a clicking sound during rides. Is that normal?
A: A clicking sound often indicates a loose pin or insufficiently tightened fore/aft knob. Stop, check all adjustments, and tighten as needed. If the sound persists, inspect the pin for damage or debris. For persistent issues, Peloton recommends contacting support.