Peloton Bike+ Crank Arm Noise: Common Causes and DIY Fixes
The Peloton Bike+ is a premium indoor cycling machine, but like any mechanical device, it can develop issues over time. One of the most frustrating problems owners encounter is a persistent clicking, creaking, or grinding noise coming from the crank arm area. This guide explains the most common causes behind crank arm noise, what you can do to fix them yourself, and when to contact support. Whether you’re a daily rider or occasional user, understanding these issues will help keep your Bike+ running smoothly.
What Causes the Crank Arm to Click or Creak on a Peloton Bike+?
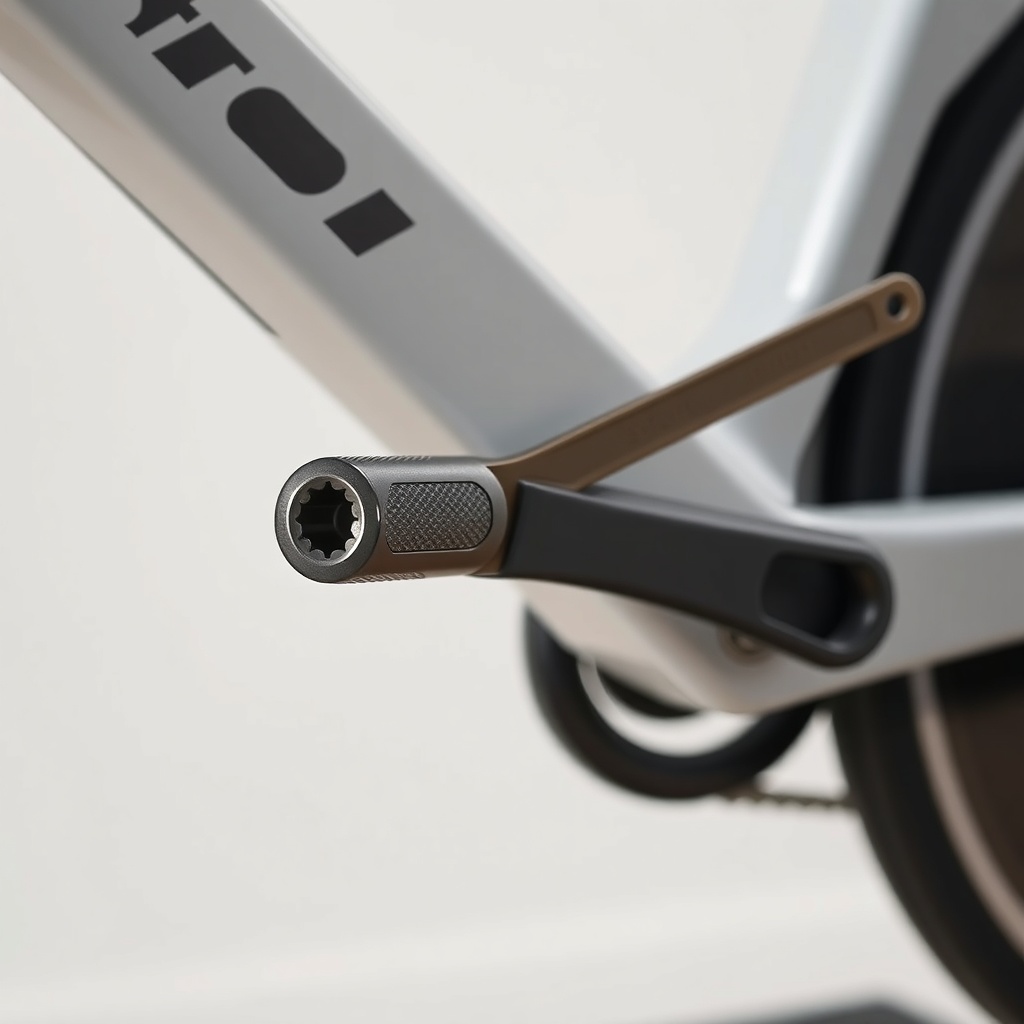
Crank arm noises on the Peloton Bike+ typically stem from one of three areas: loose pedal connections, worn bottom bracket bearings, or improper crank arm installation. The noise often manifests as a rhythmic clicking sound that coincides with each pedal revolution. Many riders mistake this for a drivetrain issue, but the source is almost always in the crank arm assembly. Let’s break down the most common culprits.
- Loose pedals: Pedals that aren’t torqued to the correct spec can create a metallic click.
- Worn crank arm bolts: The bolts holding the crank arm to the spindle can loosen over time.
- Bottom bracket wear: If the bearings inside the bottom bracket are dry or damaged, you’ll hear a rough grinding sound.
- Cross-threaded crank arm: If the crank arm wasn’t installed correctly, it can create intermittent noise under load.
For a deeper dive into other noise sources, see our article on Peloton Bike+ Drivetrain Noise Troubleshooting.
How to Diagnose If the Crank Arm Noise Is from Pedals or the Bottom Bracket?
Diagnosing the exact origin of crank arm noise on the Peloton Bike+ requires isolating the moving parts. Start by standing beside the bike and slowly rotating the crank arms by hand without any load. If the noise disappears, it’s likely from the pedals or the crank arm interface. If the noise persists even when spinning freely, the bottom bracket or internal bearings may be the issue. Use this simple table to guide your diagnosis:
| Noise Location | When It Occurs | Likely Cause | DIY Fix Difficulty |
|---|---|---|---|
| Crank arm click (every pedal stroke) | Under load (standing or high resistance) | Loose crank arm bolt or pedal threads | Easy – requires 5mm hex key |
| Rough grinding sound (continuous) | Even when coasting or spinning lightly | Worn bottom bracket bearings | Moderate – may need special tools |
| Crackling or popping sound | During high torque efforts | Cross-threaded crank arm or damaged spline | Hard – often requires replacement parts |
| Metallic squeak (intermittent) | When pedaling with wet shoes or cycling cleats | Pedal cage or cleat interface issue | Easy – check Peloton Bike+ Pedal Cage Replacement Guide |
Can a Loose Crank Arm Bolt Cause Noise on the Peloton Bike+?
Yes, a loose crank arm bolt is one of the most common and easily fixable causes of crank arm noise on the Peloton Bike+. Over hundreds of miles, the bolt that secures the crank arm to the spindle can back out slightly, creating a small gap that clicks under load. If you hear a single click per pedal revolution (usually from the left side), check the bolt. Use a 5mm hex key to tighten it to the manufacturer’s specified torque (around 35–40 Nm or 25–30 ft-lb). Never over-tighten, as this can strip the threads. If the bolt is already tight but the noise persists, inspect the crank arm for any signs of movement when you wiggle it side to side. If you notice play, the spline connection may be worn, requiring replacement.
What to Do If the Peloton Bike+ Crank Arm Noise Comes from the Bottom Bracket?
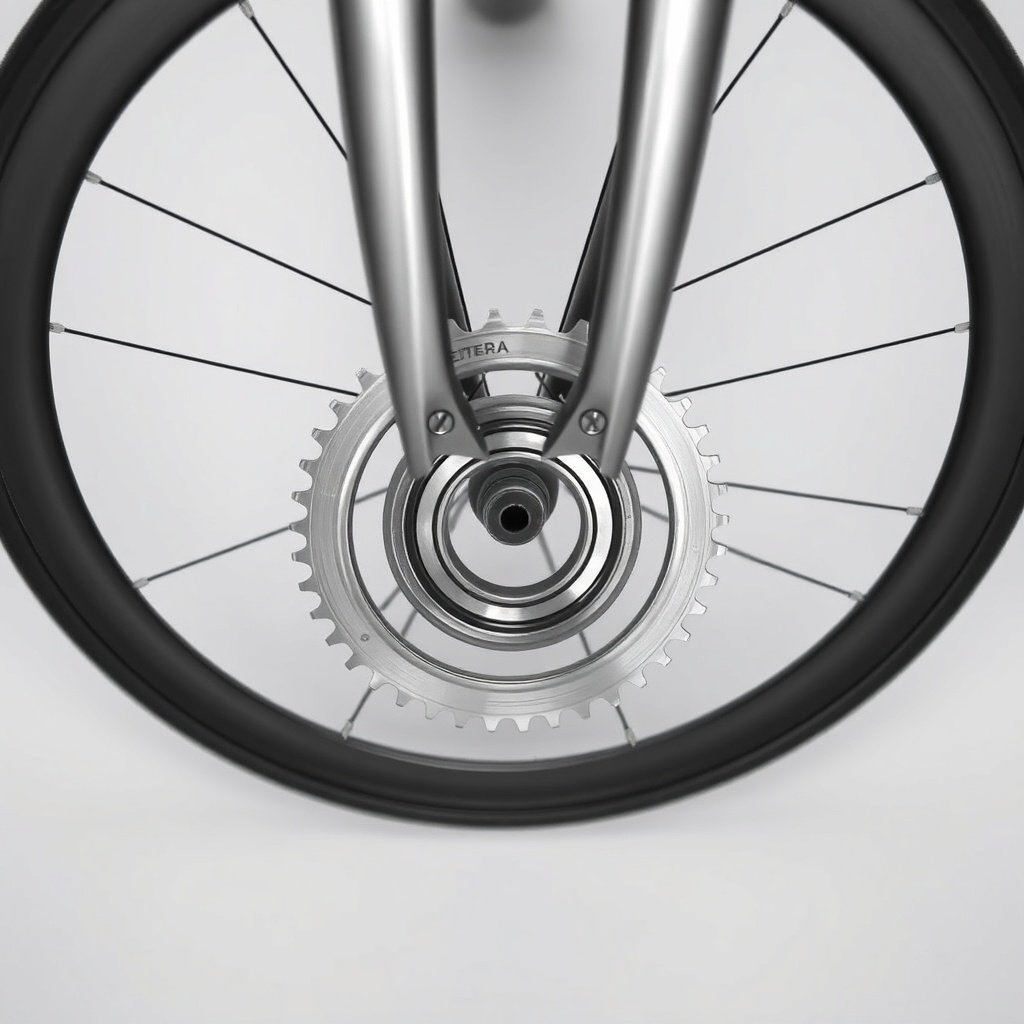
If your diagnosis points to the bottom bracket, the Peloton Bike+ uses a sealed cartridge bearing system that can wear out over time, especially if the bike has seen heavy use. Symptoms include a rough, grinding sensation when spinning the crank arms freely, along with audible noise. Unfortunately, replacing the bottom bracket on a Bike+ is more involved than a simple pedal fix. You’ll need a crank puller tool, a bottom bracket socket, and some mechanical confidence. Start by removing both pedals using a 15mm pedal wrench. Then remove the crank arm bolts and pull the arms off the spindle. Access the bottom bracket cups and unscrew them counterclockwise. Install a compatible replacement unit and reassemble. If you’re not comfortable with this level of disassembly, it’s best to contact Peloton support or a local bike shop. For comparison, see our guide on Peloton Bike+ Magnetic Resistance vs Friction Brake: Which Is Better? – the bottom bracket is part of the drivetrain, not the resistance system.
What Owners Say About Peloton Bike+ Crank Arm Noise
Peloton Bike+ owners report that crank arm noise is one of the most frequently discussed issues in community forums. Many riders note that the clicking sound often appears after 1,000–2,000 miles of use, especially on bikes used for high-intensity interval training. A common sentiment is that the noise is often misdiagnosed as a drivetrain problem when it’s actually a loose crank arm bolt. Some owners have successfully resolved the issue by applying a small amount of Loctite (thread locker) to the crank arm bolt threads after tightening, preventing future loosening. Others recommend checking the pedal-to-crank interface first, as that area is easier to access. For more related advice, check out Peloton Bike+ Resistance Knob Not Working: Common Problems and DIY Fixes – while different, resistance issues can sometimes be confused with drivetrain noise.
When Should You Replace the Crank Arm on a Peloton Bike+?
Replacing the entire crank arm on a Peloton Bike+ is rarely necessary unless the spline interface is damaged or the arm itself is bent. Signs that replacement is needed include visible cracks or deformation of the pedal eyelet, a crank arm that won’t stay tight even after proper torquing, or a clicking noise that persists after replacing pedals and checking the bottom bracket. The replacement process requires removing the old crank arm (which may need a puller tool if stuck), cleaning the spindle, and installing the new arm with fresh bolts. Peloton sells replacement crank arms through their support site, and third-party options are available, though not recommended due to tolerances. Remember: if you notice the seat is also slipping, see our article on Peloton Bike+ Seat Post Slippage: Causes and Easy Fixes for that separate issue.
How to Prevent Crank Arm Noise on Your Peloton Bike+ Through Regular Maintenance
Preventing crank arm noise on the Peloton Bike+ is easier than fixing it. Simple maintenance habits can keep the crankset quiet for thousands of miles. Every 500 miles or 3 months, check the crank arm bolts with a torque wrench. After each ride, wipe down the pedal threads and apply a thin layer of bike-specific grease when reinstalling pedals. Avoid standing on the pedals while the bike is stopped, as this puts lateral stress on the bottom bracket. Also, ensure your bike is on a level surface – wobbling can create strange noises that mimic crank issues. For help with leveling, refer to Peloton Bike+ Stabilizer Leveling: How to Fix Wobble on Uneven Floors. Finally, always use compatible cleats and tighten pedals to the specified torque (15-20 ft-lb for most pedals). If you hear any new noise, address it immediately rather than letting it worsen.
Frequently Asked Questions About Peloton Bike+ Crank Arm Noise
Q1: Why does my Peloton Bike+ crank arm click only when I stand up to pedal?
A1: This is classic for a loose crank arm bolt or pedal connection. Under higher load (standing), the gap or play in the connection becomes more pronounced, creating a click. Tighten the crank arm bolts first (5mm hex), then check pedals (15mm wrench).
Q2: Can I ride with crank arm noise without causing damage?
A2: It’s not recommended. Riding with a loose crank arm can damage the splines on the spindle or the crank arm itself, leading to expensive repairs. Stop riding and diagnose the noise immediately.
Q3: How much does it cost to fix a Peloton Bike+ crank arm noise professionally?
A3: If it’s a simple tighten, it’s free. If it requires a bottom bracket replacement, expect to pay around £80–£120 (or $100–$150 USD) at a local bike shop, including labor and parts. Peloton support may cover this if the bike is under warranty.
Q4: Is crank arm noise covered under the Peloton warranty?
A4: Typically yes, if the noise is caused by a manufacturing defect in the crank arm, bottom bracket, or fasteners. However, wear and tear from normal use (like loose pedals) may not be covered. Contact Peloton support with your serial number.
Q5: My Peloton Bike+ makes a clicking noise from the right crank arm. Is it different from the left?
A5: Not necessarily. Both sides can develop the same issues, but the right side (drivetrain side) may have additional noise from the chain or resistance unit. Check pedals and crank arm bolts first. If the noise persists, see our Peloton Bike+ Drivetrain Noise Troubleshooting guide.
Q6: Can using aftermarket pedals cause crank arm noise?
A6: Yes. Non-Peloton pedals may have different thread lengths or tolerances, causing them to not seat fully in the crank arm eyelet. This can create a clicking noise. Always use compatible pedals and check the Peloton Bike+ Pedal Cage Replacement Guide for proper installation.