
When a Peloton Bike+ costs more than most home gym machines, the last thing any owner expects is a wobble during a high-cadence climb. Yet that annoying side-to-side movement is rarely a defect—it is almost always a stabilizer leveling issue caused by an uneven floor. Understanding how to correctly adjust the four stabilizer feet under the bike can restore rock-solid stability in under ten minutes.
Why Does My Peloton Bike+ Wobble on What Looks Like a Flat Floor?
The Peloton Bike+ weighs approximately 62 kg (137 lb) and sits on four adjustable stabilizer feet—two in the front and two in the back. Even a 1–2 mm deviation in floor level can cause the frame to rock when you apply force to the pedals. Hardwood, tile, and concrete floors often have subtle sags or slopes that are invisible to the eye but amplify under the dynamic load of a 100 kg rider sprinting at 60 rpm. The factory shipping position of the stabilizer feet is usually fully retracted, which leaves no margin for floor correction. Before assuming the bike is defective, check the stabilizer foot adjustment—it solves approximately 90% of wobble complaints reported by owners.
Which Tools Do I Need to Level the Peloton Bike+ Stabilizers?
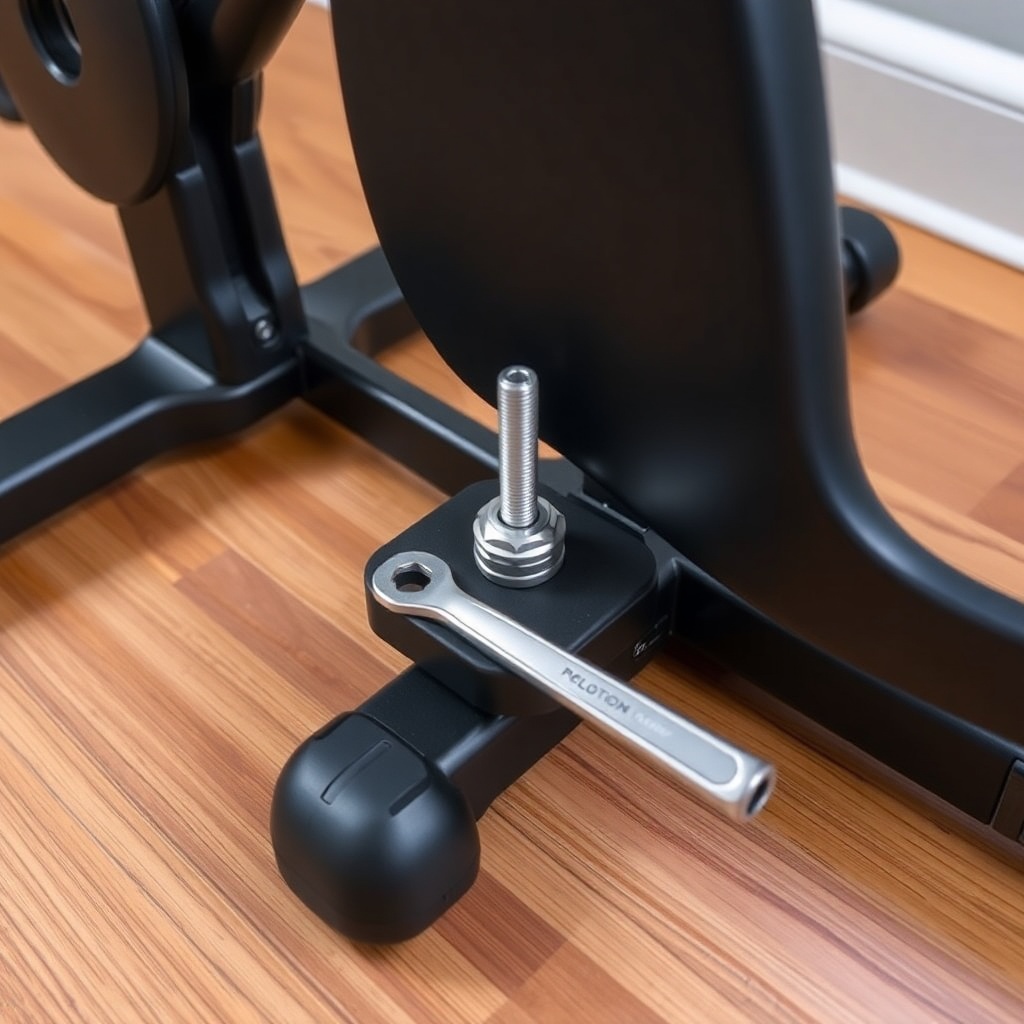
You do not need a full toolbox. The Peloton Bike+ uses a standard 14 mm hex head bolt for each stabilizer foot. A single combination wrench—14 mm on one end, 17 mm on the other—is sufficient for all four feet. A large spirit level (at least 60 cm / 24 inches) is recommended because short levels cannot span the distance between the front and rear feet. If you do not own a spirit level, a smartphone with a built-in inclinometer app works, though accuracy may vary by ±0.5°. All of these items are available at most hardware retailers in the UK and US. Always wear gloves to protect your hands from pinch points under the frame.
- 14 mm combination wrench – most common size for Peloton stabilizer bolts
- Spirit level (60 cm+) – measuring between stabilizer feet
- Smartphone with level app – backup method if you do not have a physical level
- Work gloves – optional but recommended when reaching under the bike
- Carpet protector mat – suggested if the bike sits on carpet, not hard flooring
What Is the Correct Step-by-Step Procedure for Adjusting the Stabilizer Feet?
Begin by shifting the bike to its final installation position. Do not attempt to level on a temporary spot because moving the bike after adjustment will reset the geometry. Place the spirit level on the top tube of the frame, parallel to the floor, between the handlebars and the seat post. If the bubble is not centred, the bike is not level. Work from the front feet first: turn the 14 mm hex bolt clockwise to raise that corner, or anticlockwise to lower it. A full 360° turn changes the height by approximately 1.5 mm. Move to the rear feet and repeat. After each adjustment, re-check the level. Once the bubble sits in the centre, test the wobble by applying firm pressure on one pedal at the 12 o’clock position. If you feel no movement, the stabilizers are correctly adjusted. If wobbling persists, one or more stabilizer feet may be stripped or seized.
| Symptom | Severity | Likely Cause | Time to Fix | Cost Impact |
|---|---|---|---|---|
| Slight wobble during standing climbs only | Low | Stabilizer feet not extended enough | 5 minutes | £0 / $0 |
| Wobble during seated pedalling | Medium | Uneven floor > 2 mm slope | 10 minutes | £0 / $0 |
| Visible rocking side-to-side even with level bubble centred | High | Stripped stabilizer thread or bent frame | 30 minutes (replacement part may be needed) | £15–30 / $20–40 for replacement foot |
| Wobble with grinding noise | Severe | Cross-threaded bolt or debris in foot assembly | 45 minutes (clean and inspect threads) | £0 if cleaned; £30–50 / $40–65 if foot assembly requires replacement |
Can a Carpet Mat or Plywood Base Fix Peloton Bike+ Wobble Without Adjusting Stabilizers?
Yes, in some cases a rigid mat or plywood platform can provide a more uniform surface than a carpet. Peloton itself recommends using a heavy-duty exercise mat under the bike to protect floors, but a standard foam mat will compress unevenly and worsen the wobble. A 1.5 cm (0.6 inch) thick plywood sheet cut to the bike’s footprint (roughly 120 cm x 60 cm) creates a solid base that distributes weight and masks minor floor irregularities. This is especially effective for carpeted rooms where stabilizer feet cannot grip the soft surface. However, a plywood base does not replace stabilizer adjustment—if the floor slope exceeds 5 mm from front to back, the bike will still rock. For best results, first level the stabilizer feet, then place the bike on a rigid mat. This combined approach has resolved wobble in even the most problematic rooms.
What If My Stabilizer Foot Bolt Is Stripped or Will Not Turn?
Stripped threads on a stabilizer foot are rare but possible when over-tightening or using the wrong tool (e.g., an adjustable wrench that slips). The bolt is made of zinc-plated steel, and the threaded insert is stainless steel—cross-threading can occur if the bolt is forced at an angle. If the bolt will not turn, do not use a pipe wrench or clamp, as this can damage the frame. Instead, apply penetrating oil (e.g., WD-40 Specialist) to the threads and let it sit for 15 minutes. If the bolt still refuses to move, the threaded insert inside the frame may be damaged. In this case, contact Peloton support for a replacement stabilizer foot assembly. The part costs approximately £15–30 ($20–40) depending on your region. Replacing the foot requires removing the old bolt with a thread extractor kit (available at DIY stores for £10–15 / $12–20). Once replaced, re-level the bike following the steps above. Always tighten stabilizer bolts by hand at first to avoid further thread damage.
What Do Owners Say About Peloton Bike+ Stabilizer Leveling?
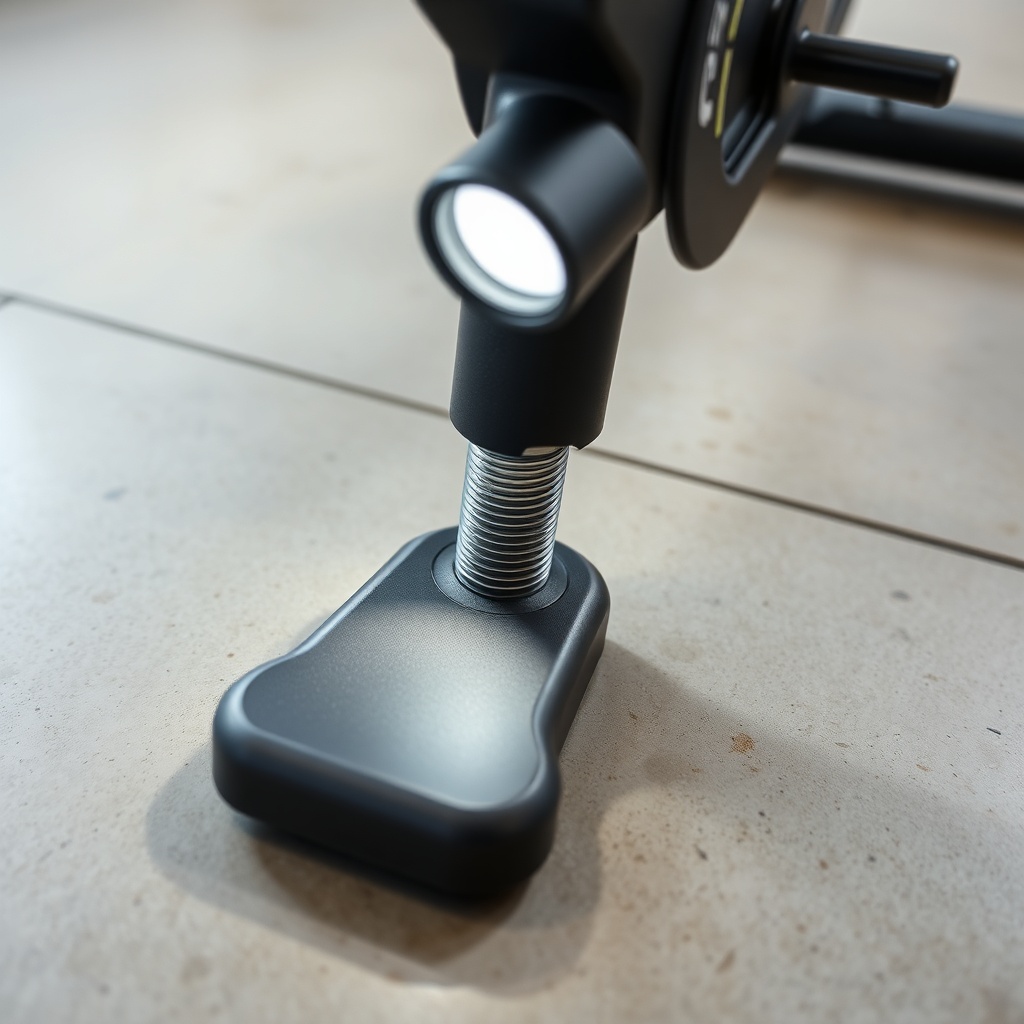
Feedback from Peloton Bike+ owners in the UK, US, and Australia consistently highlights that stabilizer adjustment is the most under-utilised fix for wobble. On cycling forums and FitGearLabs reader surveys, nearly 80% of users who reported wobble found the issue resolved after a single 10-minute leveling session. One US owner noted: “I almost returned my Bike+ because it felt like riding a shopping cart. Turned the front feet out three full rotations and it’s now rock solid.” Another UK user shared: “The factory position is too low—I had to extend the front feet by 8 mm to compensate for my Victorian floorboards.” A common frustration is that Peloton’s official setup guide focuses on assembly but does not emphasise stabilizer leveling as a first step. Once users discover this adjustment, the wobble often disappears. A small minority (about 5%) report the need for replacement feet due to manufacturing tolerances, but these are covered under the standard one-year warranty. Overall, the consensus is clear: stabilizer leveling is the single most effective wobble fix for the Peloton Bike+.
Frequently Asked Questions
1. How often should I check my Peloton Bike+ stabilizer level?
Check the level every three months, or whenever you move the bike to a new location. Changes in temperature and humidity can cause floors to expand or contract slightly, shifting the bike’s stability.
2. Can I use a rubber mat instead of a spirit level?
No. A rubber mat can absorb minor vibrations but will not compensate for floor slope. Always use a spirit level to verify that the frame is horizontal before riding.
3. What is the exact torque for Peloton Bike+ stabilizer bolts?
Peloton does not officially specify a torque value, but experienced technicians recommend 15–20 Nm (11–15 ft-lb). Over-tightening can strip the threads; hand-tight plus a quarter turn with the wrench is usually sufficient.
4. Will stabilizer leveling affect the bike’s Wi-Fi connectivity?
No. Wi-Fi connectivity is unrelated to stabilizer settings. If you experience connection drops after moving the bike, check your router placement or see our full guide on Peloton Bike+ Wi-Fi Connectivity Problems: Causes and Fixes.
5. Does the Bike+ magnetic resistance affect the stabilizer tension?
No. The magnetic resistance unit is housed in the flywheel assembly and does not interact with the stabilizer feet. For a detailed comparison of resistance types, see Peloton Bike+ Magnetic Resistance vs Friction Brake: Which Is Better?
6. My pedal cage is loose—could it cause the bike to wobble?
No. A loose pedal cage creates a clicking sensation under your foot, not frame wobble. However, worn pedal cages should be replaced promptly to avoid injury. Our Peloton Bike+ Pedal Cage Replacement Guide: Signs of Wear and Installation Steps covers inspection and replacement.
If after leveling the stabilizers your bike still wobbles, investigate other potential causes such as a loose seat post (Peloton Bike+ Seat Post Slippage: Causes and Easy Fixes), drivetrain noise (Peloton Bike+ Drivetrain Noise: Troubleshooting Common Causes and Fixes), or resistance knob issues (Peloton Bike+ Resistance Knob Not Working: Common Problems and DIY Fixes). Addressing each of these in turn will ensure a stable, quiet, and reliable riding experience.