Peloton Bike Resistance Knob Sticking: Causes and Easy Fixes
Peloton Bike owners know the importance of smooth magnetic resistance for an immersive indoor cycling experience. When the resistance knob starts sticking, catching, or refusing to turn, it can break your rhythm and undermine your workout. This article explores the common causes of a sticking Peloton Bike resistance knob and provides clear, step-by-step fixes you can perform at home, saving you time and money.
From dust buildup to cable tension issues, we’ll break down every possible culprit and show you how to restore that buttery-smooth resistance adjustment. Most solutions require just basic tools and 15–30 minutes of your time.
Why Is My Peloton Bike Resistance Knob Sticking?
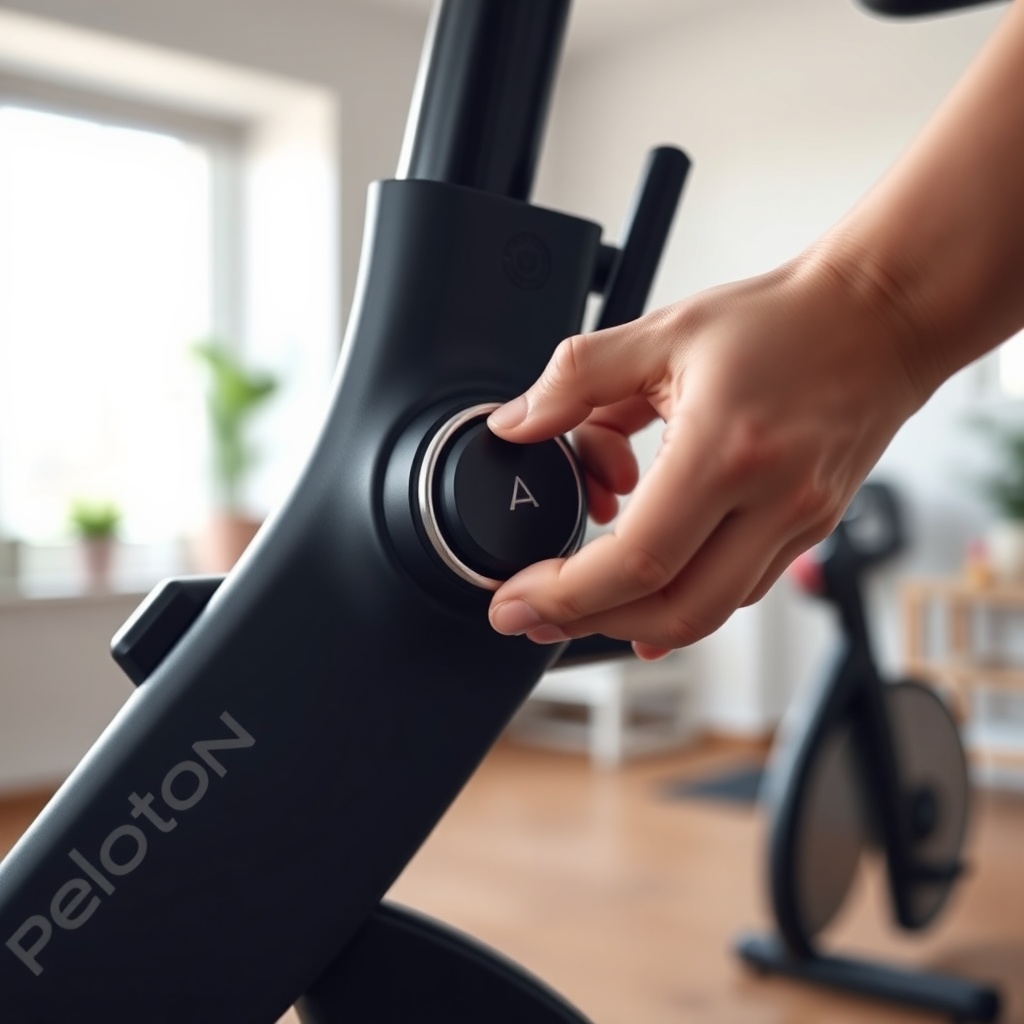
A sticking resistance knob is usually caused by one of several factors: physical debris or dust inside the magnetic brake assembly, a misaligned or kinked resistance cable, worn-out nylon bushings, or a dry bearing. The problem can also stem from the knob itself being overtightened or damaged. Because the Peloton Bike uses a cable-driven magnetic brake system, even slight friction points can make the knob feel rough or catch mid-turn.
The first step in diagnosis is to spin the knob fully from the lightest to heaviest resistance while feeling for any notchiness, grinding, or dead spots. If the knob feels gritty, it’s likely dust or metal filings inside the brake housing. If it feels stiff but smooth, the cable may be binding somewhere along its path.
How to Diagnose the Severity of a Sticking Knob?
Before diving into repairs, assess the problem’s severity. Use the table below to categorize your issue and decide the appropriate fix.
| Symptom | Probable Cause | Severity | Recommended Fix |
|---|---|---|---|
| Gritty feeling when turning knob | Dust or debris in magnetic brake housing | Low | Clean brake assembly with compressed air |
| Knob sticks in one position, then releases with a pop | Kinked resistance cable or misaligned pull wire | Medium | Reseat and lubricate cable inside frame |
| Knob turns but no resistance change until a sharp click | Worn bushing or jammed magnet sled | High | Replace nylon bushing or realign magnet sled |
| Knob won’t turn at all or feels locked | Broken bushing, seized bearing, or debris jam | Critical | Full disassembly and component replacement |
If your severity is Low to Medium, proceed with the DIY fixes below. For High or Critical issues, consider contacting Peloton support or a certified technician, though many users have reported success with careful cleaning and realignment.
How to Clean the Magnetic Brake Housing to Fix a Sticky Knob?
Dust and metal filings from the flywheel are the most common culprits behind a gritty resistance knob. Cleaning the brake housing is a safe, non-invasive first step.
- Tools needed: Phillips-head screwdriver, compressed air can (or vacuum with brush attachment), microfiber cloth, isopropyl alcohol (optional).
- Procedure: Unplug the Peloton Bike. Remove the small plastic cover on the rear side of the frame near the flywheel (two screws). Use compressed air to blow out any visible dust from the magnetic brake assembly and the area around the magnet sled. Wipe any residue with a cloth lightly dampened with alcohol. Reinstall the cover.
- Test: Spin the resistance knob fully. If the grit is gone, you’re done. If not, the cable may need attention.
A clean brake housing often restores smooth operation. However, if the knob still feels notchy, proceed to the cable inspection.
For riders who also experience seat discomfort, pairing this fix with a proper saddle adjustment is wise. See our Peloton Bike: Seat Adjustment Guide for Perfect Fit and Comfort to ensure your overall setup supports injury-free cycling.
How to Inspect and Realign the Resistance Cable?
The resistance cable connects the knob to the magnet sled. If it becomes misaligned, kinked, or stretched, the knob can stick or require excessive force to turn.
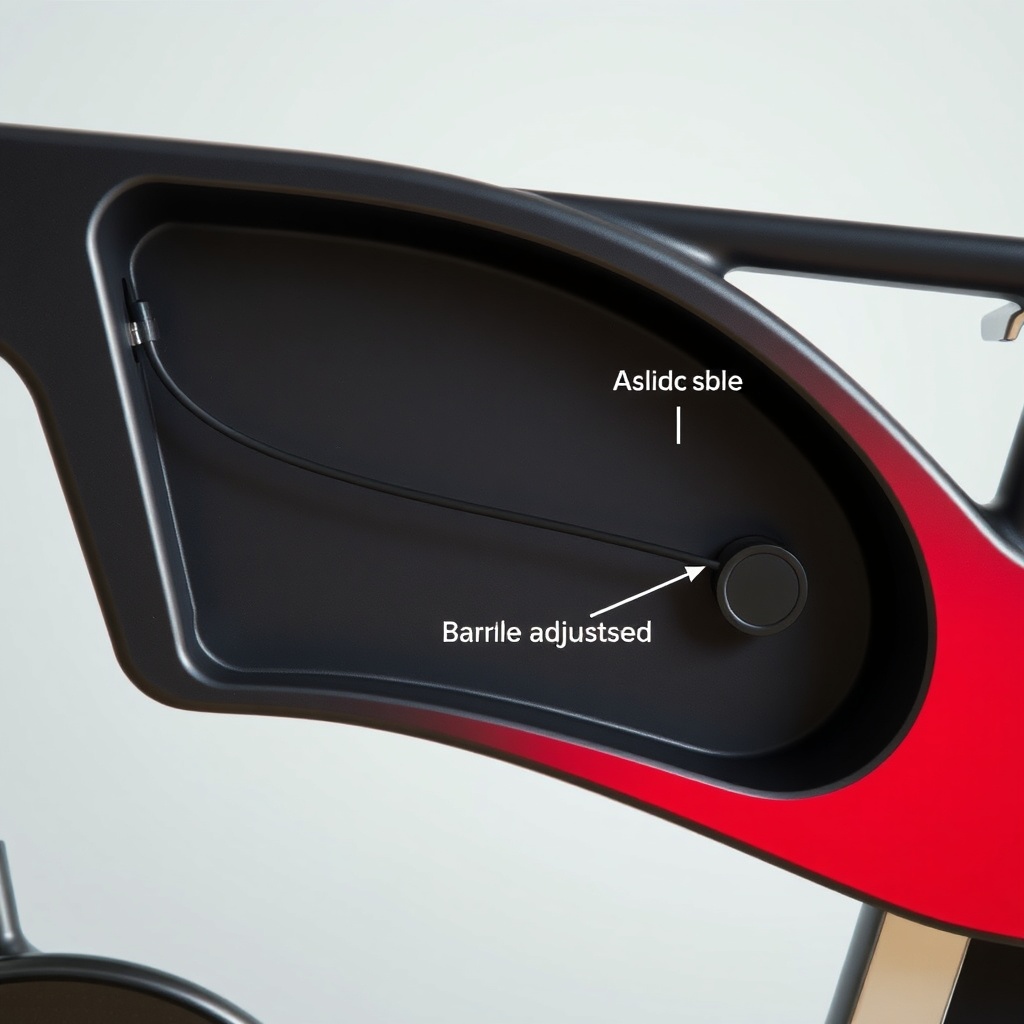
Step 1 – Locate the cable: Remove the side panel on the left side of the Peloton Bike frame (four screws). You’ll see the cable running from the knob down to the magnet sled near the flywheel.
Step 2 – Check for kinks: Gently pull on the cable near the knob end. If you feel any sharp bends or the cable catches on the frame, it needs straightening. Use a small flathead screwdriver to gently guide the cable into its groove.
Step 3 – Adjust tension: At the magnet sled, there’s a small barrel adjuster. Turn it counterclockwise one full turn to increase cable slack slightly, or clockwise to tighten. A cable that is too tight can cause the knob to stick at high resistance. A cable that is too loose may cause a dead spot at low resistance.
Step 4 – Lubricate: Apply a tiny amount of lightweight silicone lubricant to the cable where it enters the sheath and at the sled pivot point. Avoid WD-40, as it can attract dust.
Step 5 – Reassemble and test: Reinstall the side panel and spin the knob through its full range. If sticking persists, repeat the tension adjustment.
If you are also encountering issues with the bike’s data feedback, check our Peloton Bike Cadence Sensor Issues: Common Problems and DIY Fixes for related solutions.
Can a Damaged or Loose Knob Itself Cause Sticking?
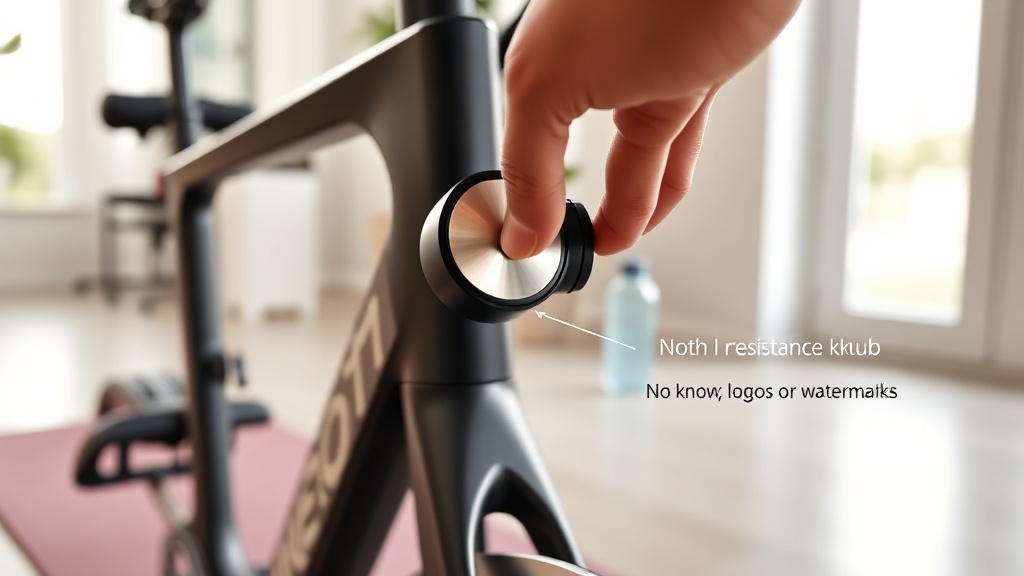
Yes. The resistance knob is a plastic component that can crack, loosen, or become misaligned over time. A loose knob may wobble and catch on the frame, while a cracked knob can bind against the threads.
- Check for looseness: Gently wiggle the knob. If it moves laterally, tighten the center screw (usually a 4mm hex key) located under the knob cap. Do not overtighten—snug is enough.
- Inspect for cracks: Remove the knob cap and examine the plastic ring around the threaded insert. Cracks often form at the stress points. If cracked, replace the knob (Peloton sells replacement knobs for approximately £25 or $30).
- Test with knob removed: Carefully remove the knob and use a pair of pliers to turn the threaded post. If the post turns smoothly without the knob, the problem is solely the knob plastic. If still rough, the issue is deeper in the cable or brake system.
Replacing a damaged knob is an inexpensive fix that can eliminate sticking without needing to touch the internal mechanics.
What Owners Say About Sticking Resistance Knobs
Many Peloton Bike owners have shared their experiences on forums and social media. The majority of cases resolve with a simple cleaning or cable adjustment. One owner reported that after two years of heavy use, a gritty knob turned completely smooth after fifteen minutes of compressed air work. Another found that a loose knob was the culprit—tightening the center bolt fixed the problem instantly.
Some users noted that the issue reoccurs every 6–12 months, especially in dusty environments. A third owner discovered that a kinked cable caused the knob to catch only on the highest resistance setting, which they corrected by rerouting the cable with a zip tie. A small percentage of users needed to replace the magnetic brake unit entirely, but this is rare and usually covered under warranty for bikes less than a year old.
Overall, the consensus is clear: a sticking resistance knob is almost always a simple maintenance issue and not a sign of major mechanical failure. With patience and the right steps, you can restore smooth operation yourself.
Frequently Asked Questions
1. Will a sticking resistance knob damage my Peloton Bike?
Yes, if ignored. A sticking knob can cause the magnet sled to jam, potentially damaging the flywheel or bearings. It also makes workouts frustrating and less effective. Address the issue promptly.
2. Can I use any lubricant on the resistance cable?
Only use a dry silicone lubricant or a lightweight PTFE spray. Avoid oil-based lubricants (like WD-40) because they attract dust and can gum up the mechanism over time. Apply sparingly.
3. How often should I clean the magnetic brake housing?
Every 3–6 months, or more often if you exercise in a dusty room. A quick compressed air blast during routine bike maintenance prevents buildup that leads to sticking.
4. Is there a way to prevent the resistance knob from sticking?
Yes. Keep the bike in a low-dust area, wipe down the frame after every ride, and perform a monthly inspection of the knob’s smoothness. Also, avoid yanking the knob from high to low resistance quickly, as this can stress the cable and bushing.
5. What tools do I need for a full disassembly of the resistance system?
You’ll need a Phillips-head screwdriver, a 4mm hex key, pliers, compressed air, a small flathead screwdriver, and possibly a replacement knob or bushing kit. For most fixes, the screwdriver and compressed air are sufficient.
6. When should I call Peloton support instead of DIY fixing?
If the knob still sticks after cleaning, cable adjustment, and inspecting the knob itself, or if you hear grinding noises from the flywheel area, contact Peloton support. A faulty bearing or damaged magnet sled may require professional service. For bikes under warranty, avoid disassembling the main flywheel assembly.