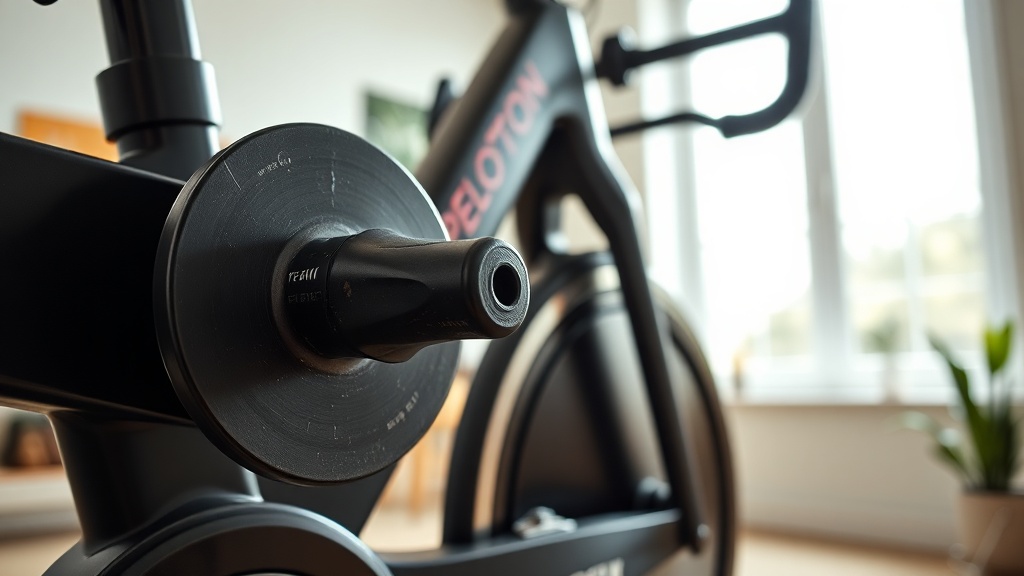
Peloton Bike owners often notice a rhythmic clicking or creaking sound during rides, which can indicate a worn or failing crank arm. The crank arm is the lever that connects the pedal to the bottom bracket, and over time it can loosen, develop stress fractures, or strip internal threads. Replacing it yourself is feasible with basic tools, and this guide walks you through the signs of wear and the step-by-step process for a safe swap.
What Are the Clear Signs Your Peloton Bike Crank Arm Needs Replacement?
Recognizing the warning signs early can prevent further damage to the bottom bracket or frame. Pay attention to these key indicators:
- Audible clicking or creaking – A repetitive noise that changes with pedal pressure, often louder on the drive side.
- Wobbling or lateral play – Grasp the crank arm near the pedal and push side-to-side; if you feel movement beyond minimal tolerance, the arm or axle interface is worn.
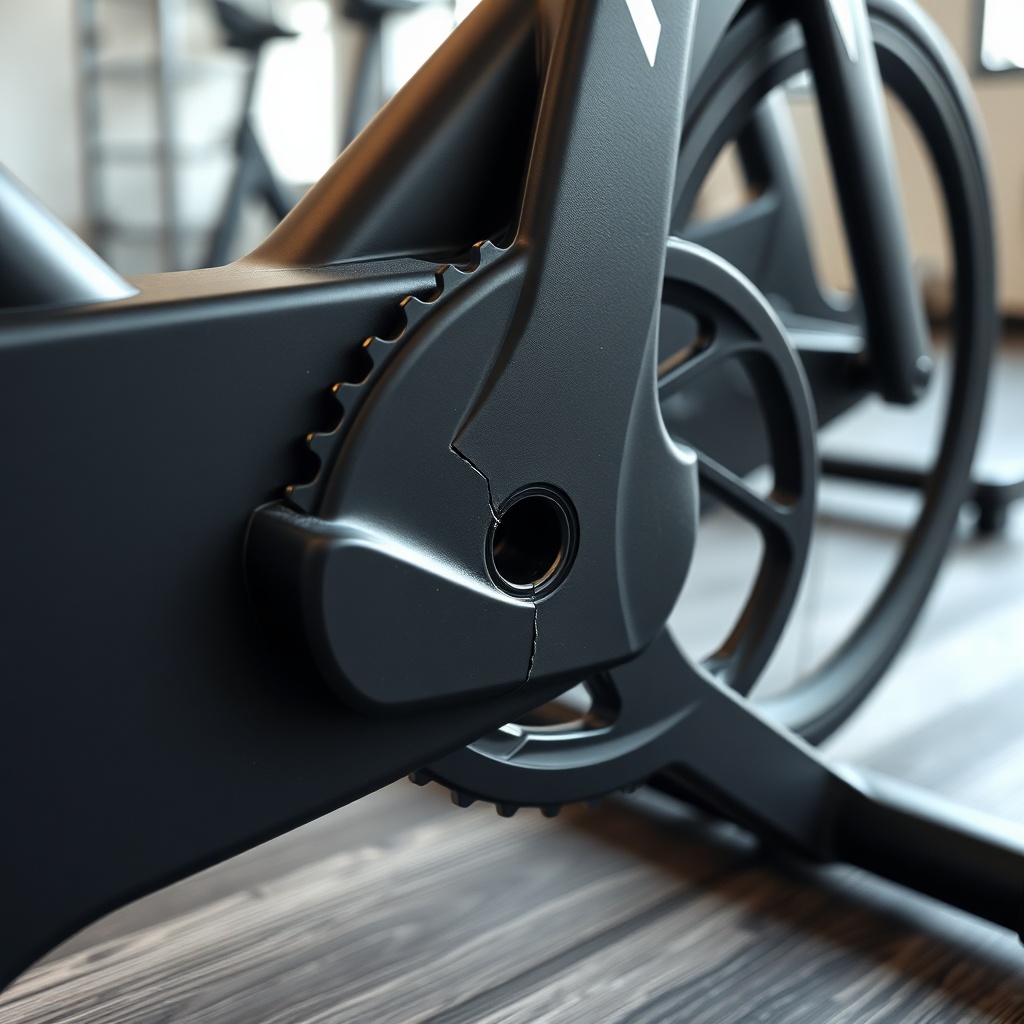
- Visible cracks or deformation – Inspect the crank arm around the pedal eyelet and the square taper or splined interface for hairline cracks.
- Stripped pedal threads – If the pedal unscrews during rides or won’t tighten securely, the aluminum threads in the crank arm may have stripped.
- Pedal feels loose despite tightening – This can indicate that the crank arm’s pedal bore is ovalised or the retaining bolt is not holding.
If any of these symptoms appear, stop using the bike immediately to avoid risking injury or damaging the bottom bracket bearings. A worn crank arm can snap under load, which is a safety hazard.
How to Diagnose Crank Arm Wear vs. Bottom Bracket Issues
Because clicking can originate from either the crank arm or the bottom bracket, it’s crucial to isolate the problem. Follow this diagnostic table to narrow down the source:
| Symptom | Likely Source | Action |
|---|---|---|
| Clicking only under load (standing climb) | Crank arm fatigue or loose crank bolt | Check crank bolt torque (40-50 Nm). If tight but still clicks, replace crank arm. |
| Creaking that changes with cadence, not power | Bottom bracket bearings or cups | Inspect bottom bracket for play. Consider bearing replacement. |
| Wobbling when spinning coast (no load) | Crank arm interface ovalised or bottom bracket axle bent | Remove crank arms; inspect the square taper. Replace whichever is damaged. |
| Pedal unscrews by itself | Stripped pedal threads in crank arm | Replace crank arm; do not re-tap aluminum threads. |
| Lateral play at crank arm end | Worn crank arm bore or loose retaining ring | Tighten retaining ring. If play remains, replace crank arm. |
If you’re unsure, check the Peloton Bike Cadence Sensor Issues: Common Problems and DIY Fixes guide to ensure the sensor isn’t misreading pedal strokes as noise.
What Tools and Replacement Parts Do You Need?
Peloton Bike crank arms are specific to the model (original vs. Bike+). For the standard Peloton Bike (Gen 1 and Gen 2), the crank arm uses an 8mm hex key crank bolt and a standard square taper interface. For the Peloton Bike+, the interface is a splined system with a 10mm hex key. Always confirm your model before ordering.
Required tools:
- 8mm hex key (Gen 1/2) or 10mm hex key (Bike+)
- Crank arm puller (Park Tool CCP-22 or equivalent) for square taper systems
- Torque wrench capable of 40-50 Nm
- 15mm wrench for pedal removal (if pedals are not quick-release)
- Thread locker (Loctite 243) optional but recommended
- Replacement crank arm (Peloton OEM part or compatible aftermarket like Wahoo or Stages)
Peloton sells replacement crank arms through their support channel for approximately £45-£60 (GBP) per arm. Aftermarket options from brands like Stages or Wahoo run £30-£50 and are often compatible with the square taper interface, but confirm spline count for Bike+ models.
Step-by-Step DIY Crank Arm Replacement Process
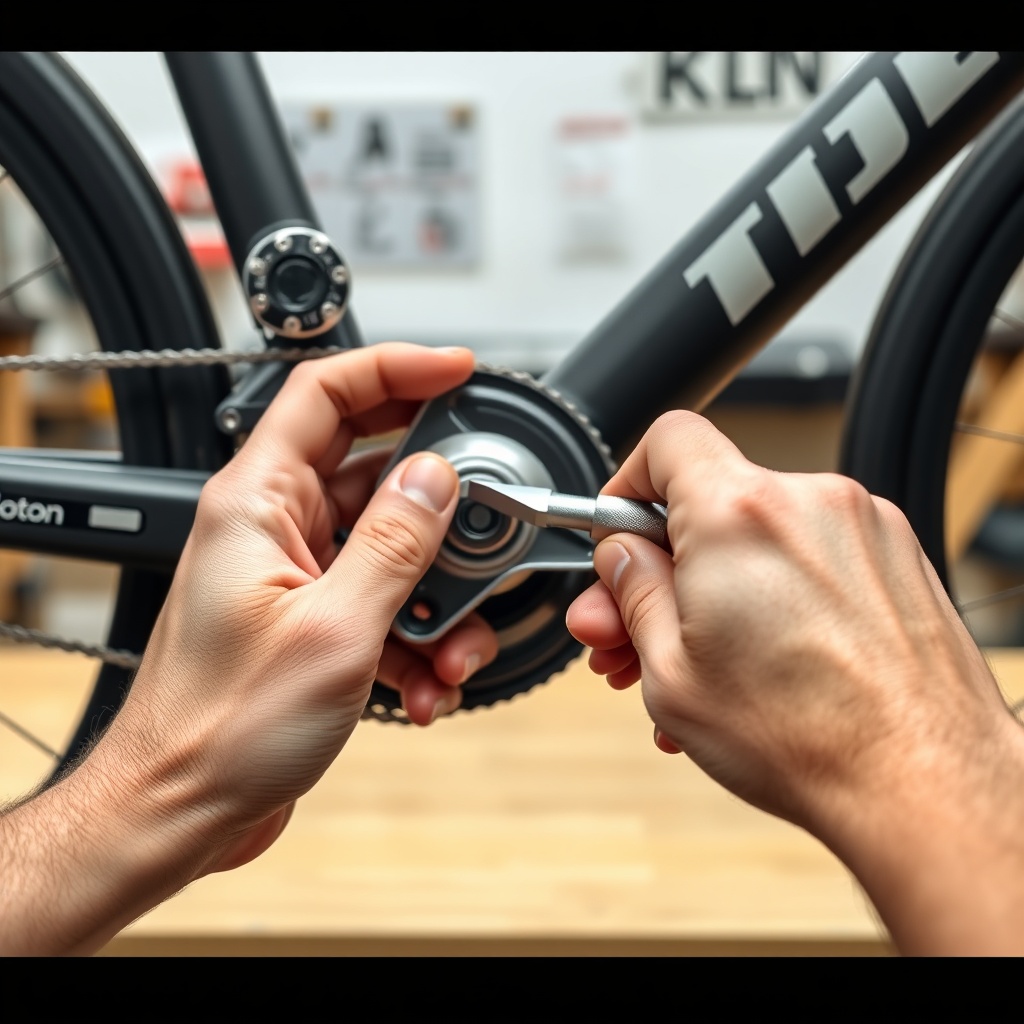
Performing a crank arm replacement requires patience and precision. Work on a flat surface with the bike powered off and unplugged. Follow these steps carefully:
Step 1: Remove the pedals. Use a 15mm wrench. Turn the right pedal (drive side) clockwise to loosen (reverse thread on some models – check your manual). Turn the left pedal counterclockwise to loosen.
Step 2: Remove the crank bolt. Using the appropriate hex key, turn the crank bolt counterclockwise. This may be tight from thread locker; apply steady pressure.
Step 3: Use a crank arm puller. For square taper arms, thread the puller into the crank arm threads, then turn the puller’s centre bolt clockwise to press the arm off the axle. For splined Bike+ arms, a dedicated splined puller is required.
Step 4: Inspect the bottom bracket axle. Clean the axle with a degreaser. Check for rust, galling, or deformation. If the axle is damaged, you may need a bottom bracket replacement, which is more complex.
Step 5: Install the new crank arm. Apply a light coat of grease to the square taper or splines. Slide the arm onto the axle, aligning the flat edge (if present). Hand-tighten the crank bolt to pull the arm fully home.
Step 6: Torque to specification. Use a torque wrench tightened to 45-50 Nm (33-37 ft·lb). Re-check after one ride.
Step 7: Reinstall pedals. Tighten securely (35-40 Nm). Do not over-torque pedals into new crank arms.
A loose crank bolt can mimic a broken arm. If you hear clicking after installation, verify the Peloton Bike Resistance Knob Sticking: Causes and Easy Fixes isn’t related to knob tension instead.
What Owners Say About Crank Arm Failures
Peloton Bike owners on forums and subreddits report that crank arm issues are not uncommon after 2-3 years of heavy use. The most frequent complaint is the left (non-drive) crank arm developing a wobble, often due to the retaining ring loosening. One Reddit user noted: “At 18 months, my left crank arm started clicking during climbs. Torquing the crank bolt fixed it for two weeks, then the noise returned. I replaced both arms and the noise vanished.”
Another owner in a Peloton community group described a stripped pedal thread: “After 8,000 miles, the right pedal stripped the aluminum threads. Peloton UK charged £55 for a new arm. DIY replacement took 20 minutes with a crank puller borrowed from a local bike shop.”
Some owners warn against over-tightening the crank bolt: “I used a normal socket wrench and tightened until it felt ‘solid’. Next ride, the crank arm cracked at the interface. Had to buy a new bottom bracket as well.”
Overall, the consensus is that replacing a crank arm is a straightforward, cost-effective repair that avoids a £250-£350 service call. Pair this with routine maintenance like checking the Peloton Bike: Seat Adjustment Guide for Perfect Fit and Comfort to avoid stress on the drivetrain.
Frequently Asked Questions
Can I replace only one crank arm, or should I replace both?
You can replace a single crank arm, but if the bike has high mileage (over 5,000 miles), replacing both ensures balanced wear and prevents future issues on the opposite side. Peloton arms are sold individually.
How much does a Peloton crank arm replacement cost in the UK?
A Peloton OEM crank arm costs approximately £45-£60 (GBP) from Peloton support. Aftermarket options from Stages or Wahoo range from £30-£50. Labour for a bike shop installation is typically £35-£50 if you prefer professional help.
Will a third-party crank arm void my Peloton warranty?
Using a non-Peloton crank arm does not automatically void the entire warranty, but if a third-party part causes damage to the bottom bracket or frame, Peloton may deny a claim. For bikes still under warranty, stick with OEM parts.
What torque should I use for the crank bolt?
Peloton specifies 45-50 Nm (33-37 ft·lb) for the crank bolt. Over-torquing risks cracking the arm; under-torquing can cause it to loosen. Use a calibrated torque wrench for accuracy.
Why does my new crank arm still click after replacement?
Persistent clicking usually indicates a bottom bracket issue, loose pedal, or a cranks sensor misalignment. Check the pedal torque, inspect the bottom bracket for play, and run the Peloton Bike Cadence Sensor Issues: Common Problems and DIY Fixes to rule out sensor clicks.
Can I ride with a loose crank arm temporarily?
No. Riding with a loose crank arm can quickly ovalise the square taper or splines, ruin the bottom bracket, and pose a fall risk. Stop using the bike and tighten or replace the arm before the next ride.